View in gallery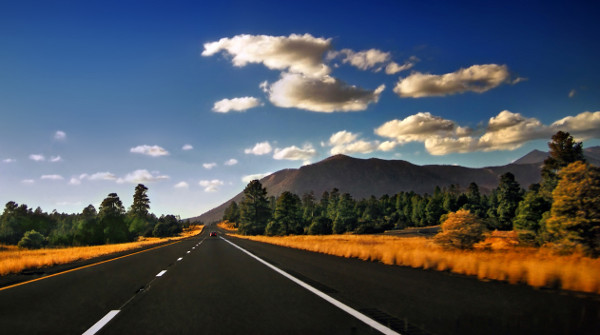
The great American road trip is a rite of passage, a journey that every man, woman and child must experience at least once in their life. The memories you make on your own road trip may not last forever, but creative use of a camera can capture them permanently. Whether you use a do-it-all point-and-click camera or a DSLR bag of tricks, join us to explore how to take perfect photographs of an exciting road trip. From roadside attractions to sporting events, concerts to in-car fun, we examine the techniques and technologies needed to capture the memories of your great summer road trip.
Part One: A Road Trip as a Story
View in gallery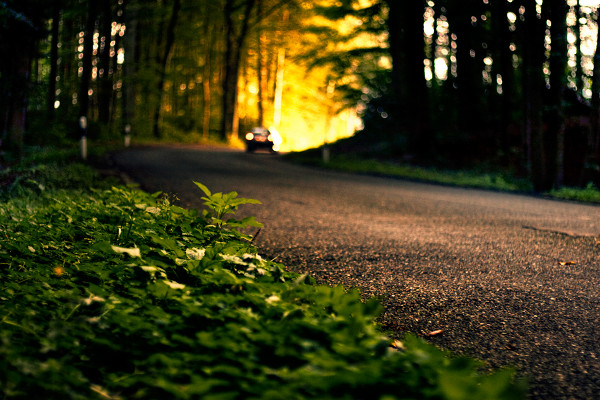
Much like a film or a novel, a road trip is a story. It has a cast of characters, a range of scenes and rising action that culminates in a climax– the destination. Telling a good story with photographs has a lot more to do with discipline than equipment or experience, a discipline than any amateur can master. This discipline includes four basic elements: planning, profusion, perspective and progression.
Planning Your Story
View in gallery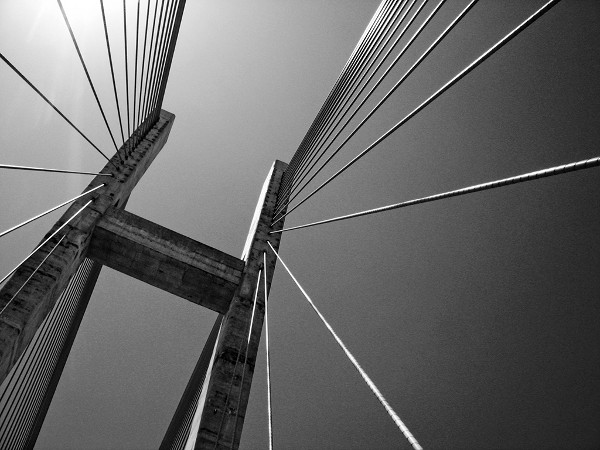
A great road trip is about the journey as much as it is about the destination. Between point A and point B, there are adventures to be had and discoveries to be made. The trick is to find them before you leave, to research the path you take and plan stops along the way. With a bit of research, you can find great roadside attractions, highway diners, nature outlooks and geographical oddities. And beyond shoring up your itinerary with things to see, you should also look for photographs of your destinations online– you might discover a perspective or feature you wouldn’t have found on your own.
Profusion: Documenting Your Story
View in gallery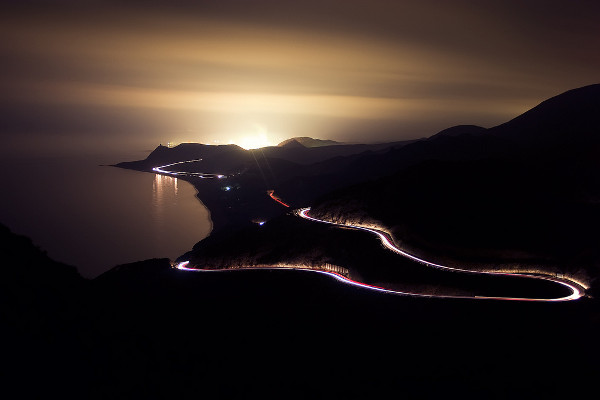
Take photos constantly, profusely. As long as you’ve got battery life and storage space to spare, snap away to your heart’s content. The more photographs you take, the more you’ll have to choose from when editing after your trip. While twenty shots of that kitschy dinosaur statue may seem excessive, you’ll thank yourself for the one gem from the bunch that captures the emotion perfectly.
Perspective: Capturing Your Story
View in gallery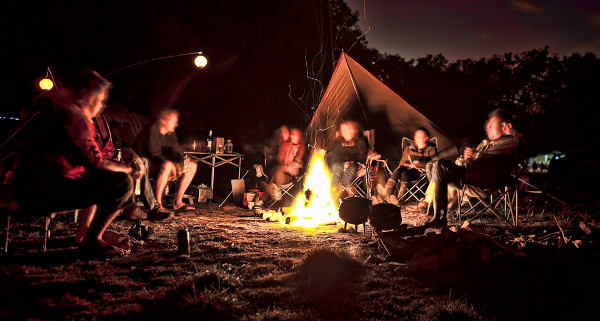
No matter the storyline or subject, experimenting with perspective can yield stunning results. When telling a road trip story, both the camera perspective and narrative perspective should be experimented with. Dead-eye, straight on shots can be a bit boring, and if you shift the camera perspective away from eye level you can add a dramatic feel to the story. Set the camera right on the sand for a dreamy look at the beach. Climb a tree for a great shot of the campfire at night. Shift the perspective, and you’ll see new life in your photographs. This is important for narrative perspective too. A road trip is as much about the characters as it is the trip, so it’s important to see the trip through everyone’s eyes– as well as from a third person perspective (this is where a camera timer or posed scenes can come in handy).
Progression: Telling Your Story
View in gallery
When photographing your road trip, it’s important to keep an eye on the overall story. One image or scene should progress into the next, to avoid leaving chunks of your story behind. If you travel through forests on your way to your destination, take opportunities to stop the car and photograph the scenery. If you see a roadside diner, this is a great segue from travel shots to destination shots. When you’re editing your images, you can show each phase of your travels in progression so your audience of friends and family feel like they were with you each step of the way. If you just stick to the beginning and the ending with a shot or two along the way, your road trip photographs will be missing the most important part– the trip!
Part Two: Technologies and Techniques
View in gallery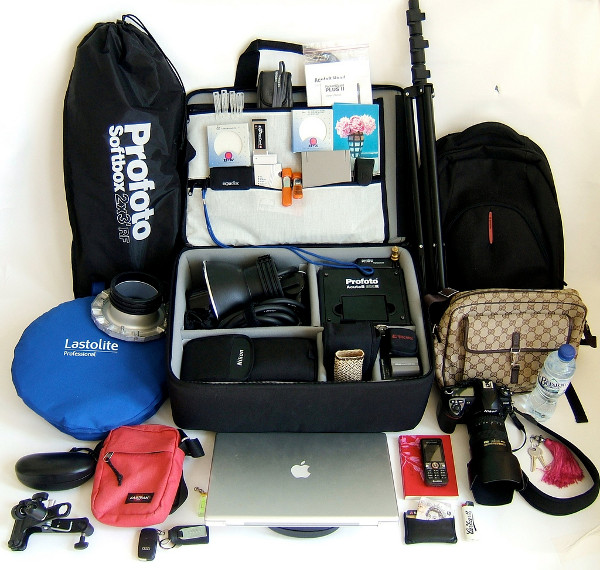
Before leaving for your road trip, you’re going to want to gather the tools of the trade and learn the tricks of the trade. If you already own a good camera, either a point-and-click camera with all the bells-and-whistles or an advanced, flexible DSLR, you’ll be in good shape. If you don’t yet have one, we can point you in the right direction in either category. The nice thing about digital photography is that the price of a solid camera is very low, allowing budding photographers to get in on the ground level without breaking the bank.
Point-and-Click vs. Digital SLR
View in gallery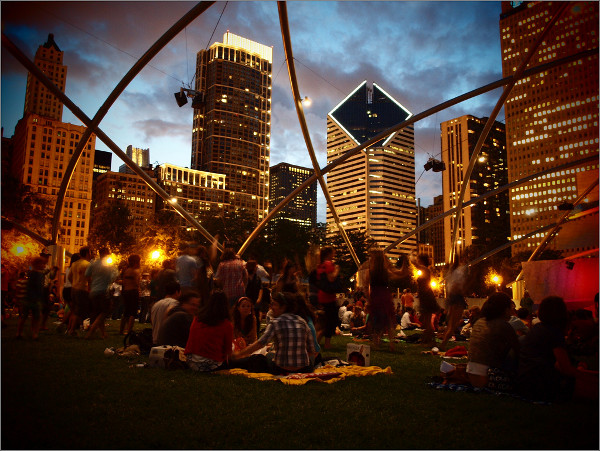
Point-and-click cameras have their advantages– they’re easy to use, they’re small and they do just about everything with reasonable quality. If you’re only looking to capture the moment and not get into the details, a good point-and-click will work quite well and fit right in your pocket/purse. If you want to go advanced and add a full range of control and quality, a DSLR is the right choice. A digital “single lens reflex” camera gives you the option of switching lenses and also provides greater control over the shutter speed, aperture and light sensitivity of your camera. While DSLR lenses alone can quickly stretch into the $1,000+ price range, others are much more affordable. We own a few DSLRs, and our most recent purchase was the Nikon D3100, a DSLR camera that includes a zoom lens plus full 1080p video recording with autofocus for $699 with a lens. A tool like the D3100 will allow you to capture stunning photographs with amazing quality and control, plus live action video of your mid-trip hijinks.
Your Camera Gear Arsenal
View in gallery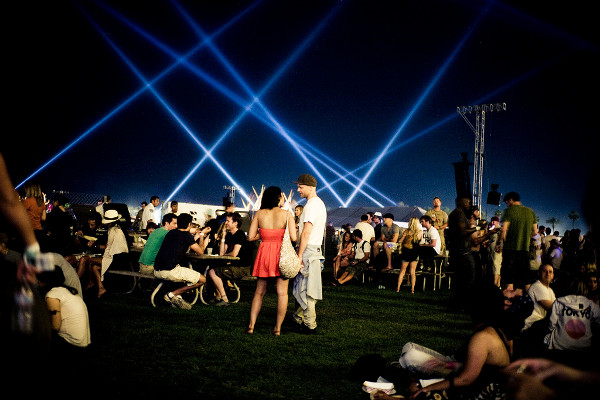
Beyond the camera, you’re also going to need to bring some important supplies. A good tripod is a must, no matter if you prefer a point-and-click or a DSLR. When light is hard to come by, slower shutter speeds will lead to blurry, shaky photographs. A tripod will prevent the shake and keep your low light images as sharp as can be. Remember to bring an extra battery (or a car charger) and an extra memory card. Running out of juice or storage space will kill the amount of memories you can capture. A camera bag will be necessary if you own a few lenses, as carrying them in your hands or a loose backpack is never fun. Last, don’t forget lens cleaner, filters and even a reflector, as you might regret their absence if you opt to leave them behind.
If you own or plan on buying a DSLR before your trip, consider picking up a do-it-all zoom lens or a few lenses for the range of shots you’ll end up taking. Wide, panoramic natural and urban shots will require a wide angle lens, while distant detail will require a zoom lens. A fixed lens like a 35mm f1.8 will be best for video. Last, if video is on the menu, a camera stabilizer is a great addition (and quite easy to build yourself).
The Tips and Techniques of the Trade
View in gallery
Okay, so you’ve got your story plotted out in your head, you’ve got your camera and you’ve got your accessories. Now, how do you shoot this great road trip? While the basics should be obvious, here are a few ideas on how you can capture your memories in a clear and dynamic fashion:
- When in motion, aim for distant shots. When driving, close-by subjects will be hard to capture without blurring. If you focus on subjects that are further away, you’ll have an easier time getting a steady, clear shot. A nice zoom lens will come in handy here.
- Share the camera. If you’ve taken most of the photographs yourself on your road trip, your perspective can get a bit stale. Pass the camera around often, let your friends/family take some shots of their own, and the result will be a story told by the whole group. Everyone sees things differently, and you’re missing out if you don’t ask for your co-pilot’s perspective.
- At night, experiment with flash-free manual shutter control. If you’re by a campfire or at a concert, light is an emotional subject at night. If you stick to manual shooting and turn off your flash, you can capture some amazing images at slow shutter speeds. Try setting your shutter between five and fifteen seconds when framing up soft lights and crowd at a concert. With a bit of trial and error, you can capture a wild and emotive shot of the crowd and concert in motion.
- Use the timer for creative perspectives. While this can be a bit tricky to choreograph, you can set your timer on your camera when framing up the road you’re traveling on. Hop back in your car before the shutter snaps and drive by your camera. An action shot of you and your friends/family is not easy to get with you in it, and this method provides the perspective of an outside narrator.
- Get risky. If you have an IR remote or a wired camera controller, you can try out some interesting ways of capturing your trip. You can attach your camera to a boom (or a monopod / closed tripod) and extend it out of the passenger window while aiming back toward the vehicle. Use your remote to snap shots of the car with you and your friends in it and the environment beyond. Be careful here, as the driver needs to focus on their job and you need to avoid hitting any objects outside– especially other cars or pedestrians. Try this at your own risk, you didn’t hear it from us!
- Look for high ground.As you travel, always keep an eye out for hills with nice vistas, accessible rooftops or climbable trees. If you ascend a hill with a nice view of the road you just traveled, take a moment to hop out and snap some photos of the winding road below. At a campsite or elsewhere where trees are available, climb to a higher viewpoint and snap away. Again, do this at your own risk!
For more tips on photographing summer events like concerts, sporting events or fireworks, check out our feature on Photographing Summer: How to Nail Five Summer Moments with the Perfect Photo. If you have tips or techniques that you’ve found successful on a road trip of your own, share them in the comments below! Thanks for reading, and enjoy your great summer road trip. We fully expect you to share your great photos with us!
[image credits: “environs” by nicholas t, “autumn street” by philipp hilpert, “Sobre o Rio Guamá” by breno peck, “goodbye to 2010” by benjeev, “equipment for us trip” by geishaboy500, “summer in the city” by theeerin, “laser light show” by ourcommon, “fenway park” by werner kunz;]
